






MAY 3, 2007|SOCIAL MEDIA
How to Create a Social Media Bio in Typepad (without HTML)
If you are already a Movable Type or HTML expert, this post is not for you. But many fellow bloggers who are Typepad users (but not programming saavy) asked how I created my Social Media Bio and how they might do the same. For all of you that asked, here is how I hacked mine together - using a bare minimum of coding knowledge and mostly using the tools that already exist within Typepad:
Step 1: Create a New Blog
When I was first looking at how to create the page that I wanted, it seemed that custom creating a new page within Typepad was certainly possible, but would require me to get into the coding and modification of CSS files (not really how I wanted to spend a weekend). Typepad offers wonderful tools, however, to create new blogs - so that's how I started. My Social Media Bio page is actually set up as a second blog within Typepad. To set the theme for the new blog, I chose a three column template with two sidebars, and matched all the typefaces and color choices to my current blog template (very easy to do because I originally started with a standard Typepad template for my blog anyway).
Step 2: Remove Blog Features
In order to get the page to look different from a blog, I had to remove many of the standard features, such as date headings for posts, or the "posted by" notes in the footer. Once I did that, I had a custom view that didn't look like a blog - even though the "My Bio" section of my Social Media Bio is actually a blog post. The bookmarks from del.icio.us posted underneath are a second blog post.
Step 3: Customize the Look
In any new blog, you can always change the header to use an image of your choosing, which is what I did. To get the header to be thin rather than the regular height, I had to use an advanced template (see Step 5). I also created custom logos in Photoshop for the sites I contribute to and awards logos and uploaded them as files into my Typepad account - but once I did that, they were easy to link to as cut and pasted HTML.
Step 4: Use Typelists for Content Buckets
Since first creating my blog, I loved the idea of Typelists letting me create widget style features that I can add to my sidebar on my blog. All of the content in either sidebar of my Social Media Bio has been created as a separate Typelist. For those who haven't done it, creating a Typelist in the format of "Notes" allows you to paste any raw HTML into the description field and totally customize the content.
Step 5: Convert to Advanced Templates (Optional)
For those of you who have Pro level memberships with Typepad, you can also convert your templates to Advanced. This does require some coding effort and is not necessary if you are happy with the regular format. For me, there were a few things that I wanted to do, including making the page wider and using an extremely thin header graphic. These were only possible using an advanced template.
Below is a document that includes code that I used for my Social Media Bio which may be useful for you to cut and paste as you create your own. Also, if you do create one and use this template (or create one using another format) and I'll include a link to it in this post. Good luck!
Download Code Samples [Word Doc - right click to "Save As"]
Related Posts
Book Rohit To Speak
Want to bring these ideas to your next event?
Rohit turns the thinking behind posts like this one into keynotes for audiences around the world, from Fortune 500 leadership teams to global industry conferences.
Learn More About Speaking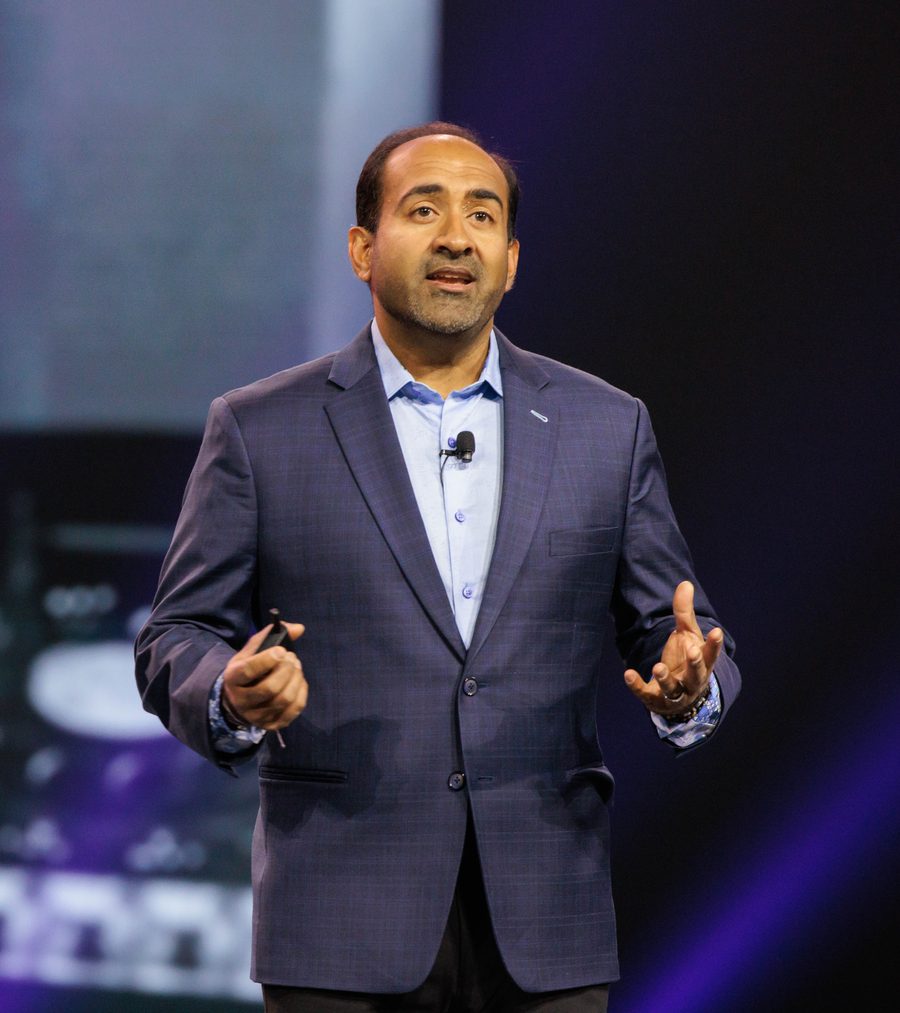
How It All Started
A Short Backstory Of This Blog
This is a blog about non-obvious ideas. Originally launched on the Typepad platform in 2005 as the Influential Marketing blog, the stories at first focused mainly on digital marketing while Rohit worked at Ogilvy Advertising. In 2015 Rohit officially rebranded to the Non-Obvious Insights Blog and published his WSJ bestseller Non-Obvious. For the past twenty one years, this blog has coined new terms, introduced future marketing practices and inspired the next generation of non-obvious thinkers and marketers.